
A Back Office user is anyone who had access to the WAY2PAY system web interface which contains all of the functions to administer the system including Monitoring, System Maintenance, Cashless Maintenance, Reporting and System setup
A WAY2PAY Back Office user can be added using the ‘Back Office Users’ module using the following steps:
- Sign into the WAY2PAY Back Office
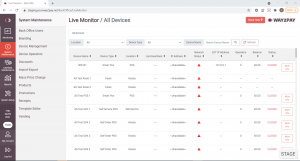
- Press the ‘System Maintenance’ navigation button and navigate to ‘Back Office Users’.
**NOTE** If this option is not visible, please speak to the manager or team that manage the WAY2PAY system for your organisation.
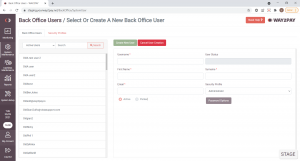
- Within the ‘Back Office Users’ screen, press the ‘Create New Users’ button.

- The page will display a form that you will need to complete with the following information that are mandatory:
| Field | Notes |
|---|---|
| Username | Enter the username you would like the Back Office user to use to sign into the Back Office. Please note, the username must be unique so if this already exists you will be asked to change the username |
| First Name | Enter the first name of the user you are creating the account for |
| Surname | Enter the surname of the user you are creating the account for |
| Enter the email address of the user you are creating the account for | |
| Security Profile | Select a security profile from the dropdown list that best suits the user you are creating the account for. |
- Once all fields have been completed, press ‘Create New User’ to create the new user.
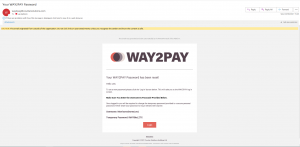
- Once the Back Office user has been created, the Back Office User will receive a password reset email with a temporary password to sign in with (check spam folders and email address is correct if not received).
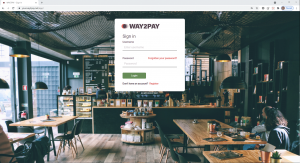
- When the WAY2PAY login screen displays, ask the client to sign in with their username and temporary password.
**NOTE** Ask the client to copy and paste the temporary password.
- Once signed in with the temporary password, the client will be asked to:
| Step | Notes |
|---|---|
| 1. Enter current password | The temporary password must be used here. |
| 2. Enter New password | Must be 8 characters long and include one upper, one lower and one number |
| 3. Re-enter password | Must match the new password set in the previous step. |
| 4. Press ‘Update’ | To confirm the password change. |

- Once the new password has been set, the Back Office User can then sign in.