
Operators Overview
The Device Operator’s module is found under the ‘System Maintenance’ tab, using this module you can create and edit logon details so that your till operators can access your tills. You can also use this module to customise the access levels that operators have;

On the left there is a list of operators. Once you click on a name it will show you the operator details and security level assigned.
Adding a User
To add a new epos operator first you need to select the ‘New’ button in the top right corner of the module and fill in the mandatory fields marked with an asterisk. Depending on whether the operator will be logging on with a Dallas Key or staff code, there are slight variations in how these field should be filled in;
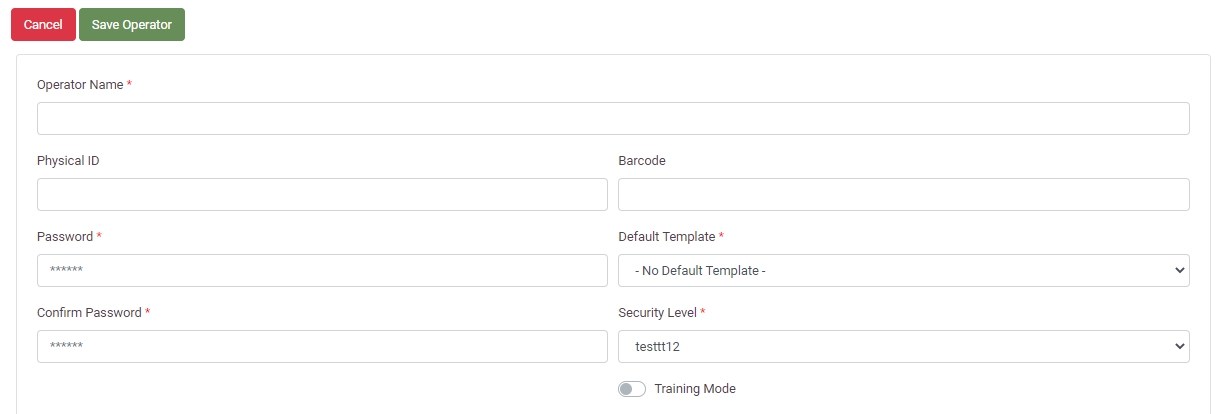
- Operator Name – The name of the Operator.
- Physical ID – If Dallas Keys are used, enter the Dallas Key ID, otherwise leave blank.
- Barcode – For Self Service Checkout devices where a barcode is used to access the staff menu, enter the operators barcode number or leave blank if not applicable.
- Password – The numeric password the operator will use to sign in and access specific parts of the device.
- Confirm Password – As above, both passwords must match.
- Default Template – Setting a template will open this template each time the operator signs in. If this is not required leave blank.
- Security Level – Choose a security level to determine what device features the operator can/cannot use.
- Training Mode – Enabling training mode will not process any sales data.
Once all fields are filled in, use the ‘Save Operator’ button to save the operator. If there are any issues you will be prompted to rectify them before the operator can be saved.
Creating and Editing Security Levels
The security levels set against an operator determines what functions they have access to on the POS. The most common functions you may want to restrict access to are things such as opening and closing a shift aswell as performing a refund. To create a new security level, select ‘Security Levels’ and click “Create New Security Level”;
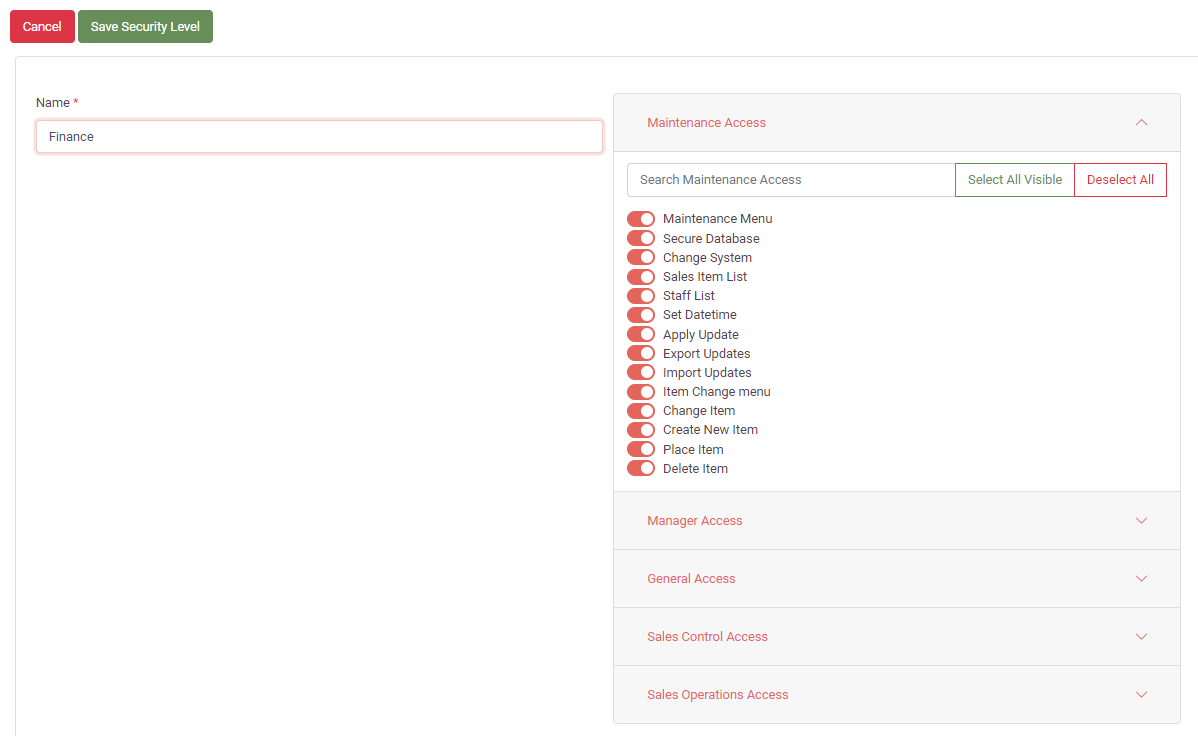
Once a name is provided for the Security Level Profile, you can select which access features can be used by any Device Operators assigned to this Security Level Profile.
Once all access features have been selected, use the ‘Save Security Level’ button to save the Security Level.