Introduction
The ‘’ Vending’ module found within the ‘System Maintenance’ tab is generally used by System Users to configure their vending machines to work alongside the Way2Pay database.
The Vending Manager module allows System Users to do the following.
Search and View – Look up vending machines on the database using the ‘Search’ function to be able to edit and configure.
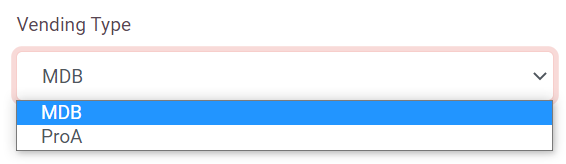
Set Comms Type – Choose between MDB and Protocol A depending on the type of vending machines on site.
Set Vending Type – Choose between MDB and Protocol A depending on the type of vending machine on site.
Configure for Contactless – Set to work with contactless payment if required.
Reader Defined Pricing – Set prices for items in the vending machine using the Way2Pay database instead of setting them on the machine itself.
Build Planogram – Assign the position and price of products within the database to slots in the vending machine.
Edit Vending Addresses – Amend the product location identifying numbers to correspond with different vending machine types.
Vending Manager Features
Search for a Vending Machine
You can search for a vending machine on the database to view the set-up information, items, and planograms.
- Open the ‘Vending Manager’ module within the Maintenance’ tab.
- Enter the name for the vending machine in the ‘Search Box’ or search using the list below.
- Select the vending machine required.

Setting the Comms Type and Vending Type
The vending reader will need to be configured in the database to enable them to communicate with the type of vending machine used. There are two main types.
- Protocol A – Typically a configuration used for older vending machines.
- MDB – Typically a configuration used for newer vending machines.
Set these using the drop-down menus in the ‘Vending Manager’ window.
Reader Defined Pricing
Prices can be set in vending systems within the vending machine itself. In this case the price to be charged to the user is communicated from the vending machine to the vending reader for payment.
It is however possible to set item prices within the Way2Pay database the same way as on a POS and set the vending manager to charge the price for the product based on the item location selected on the vending planogram.
To do this select the ‘Enable Reader Defined Prices?” box in the ‘Vending Manager’ window.

IT IS IMORTANT TO NOTE THAT WITH READER DEFINED PRICING, CHANGES MADE TO PRICES IN THE WAY2PAY DATABASE WILL AFFECT THE PRICES CHARGED FOR ITEMS VENDED. THEREFORE, IT IS PREFERABLE TO DUPLICATE SALES ITEMS IN THE DATABASE AND NOTE AS (VEND) IF THERE IS A PRICE DIFFERENCE BETWEEN NORMAL AND VENDING STOCK. SALES ITEMS SHOULD ALSO BE LOADED TO REFLECT THE PLANOGRAM CORRECTLY.
Build or Edit Planogram
To allow for accurate price setting and sales reporting it is possible to configure a planogram of the slots within a vending machine.
Building Planogram
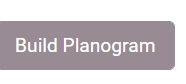
- Select “Build Planogram”, on the device you wish to build one for.
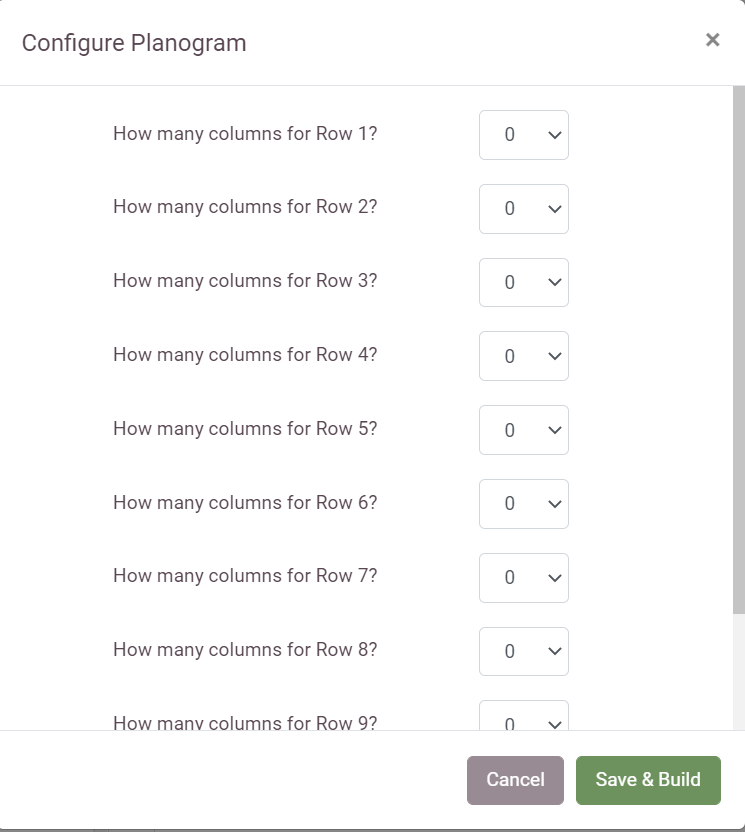
- You will be presenting with the page shown below. Set the number of slots in each row to correspond with the physical layout of the vending machine.
- Press “Save and Build”.
- Vending Config window will open.
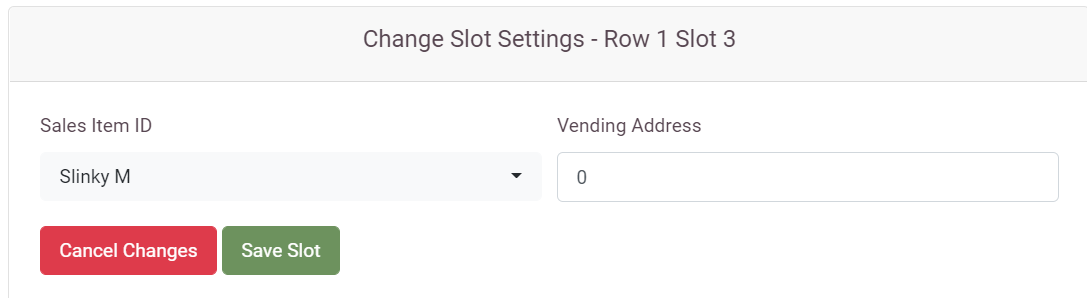
- Select the desired slot location to place a sales item this will appear highlighted.
- Use the ‘Sales Item’ search box or the list to select an item.
- Click the item to add to the previously highlighted location and click “save slot”.
- Repeat the process until planogram reflects vending machine layout.
Edit Planogram
To make changes to an existing planogram, follow these steps:
- Select the vending machine requires.
- Select “Edit Planogram”
- You will be presented with the screen below.
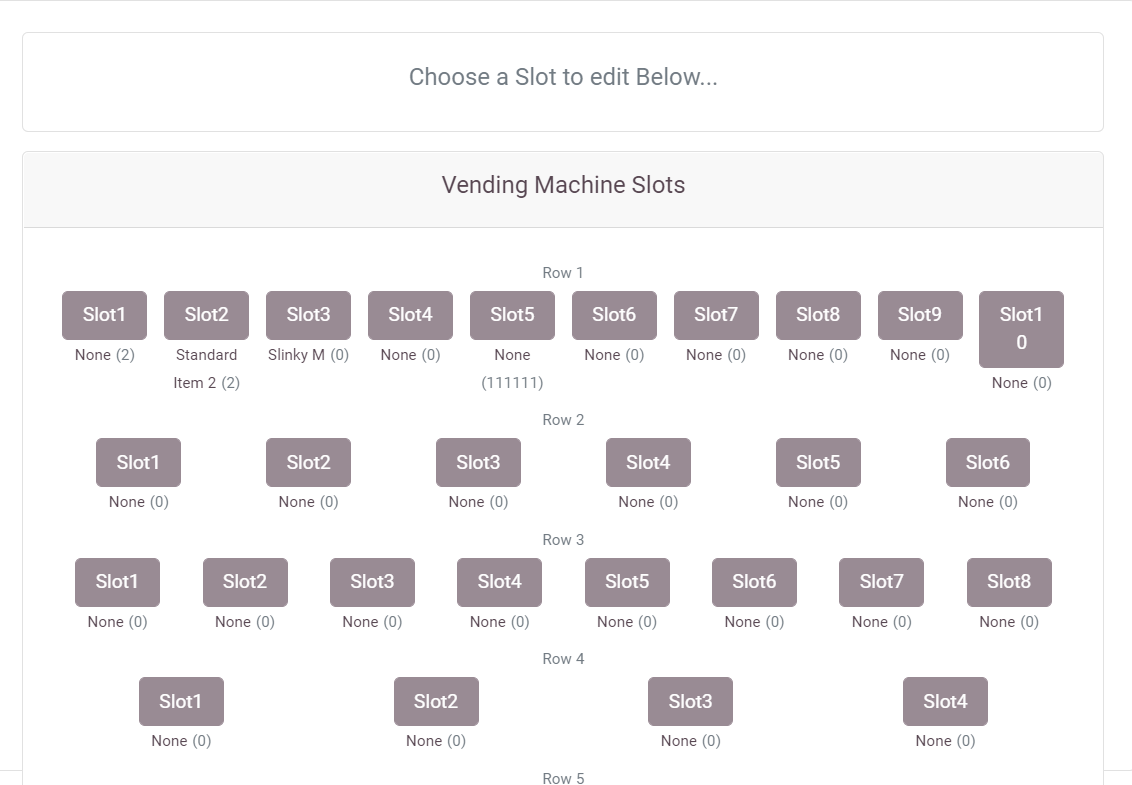
Editable Vending Addresses and Sales Item ID
Each slot in a vending machine has a location identification number programmed into the machine itself. These identifying numbers can be found often on a plan somewhere within the machine or in the manufacture’s literature. The numbers set on the planogram within Way2Pay need to be set to match those location numbers on the vending machine. This is so that the correct prices for an item is charged and also to allow accurate Item Sales reports to be run.
These can be edited taking the following steps.
- Select the slot you would like to edit.
- You can now edit the vending address & the sales item ID.
- Amend numbers to match vending machine system plan and select the Sales Item ID.
- Press “save slot”.