
Credit Accounts Overview
Below is an overview of the Credit Accounts module (this can be found under Cashless maintenance). This module allows the end user to setup accounts that can be made available at the POS and used to cover the costs of transactions by authorised users.

On this page you view whether the account is:
- Authorized Only
- Card Identification
- Text Description
- Available on POS
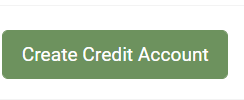
Creating a New Account
Select “Create Credit Account at the top of the screen.
You will now need to enter the Reference, Name and Contact Name.

Select these options if:
Authorized only: If only authorized users can use the account.
Card Identification: If user must present their card at the POS
Text Description: If description is required at the till when processing a transaction.
Available on POS: If the account can be used on POS
Existing Accounts
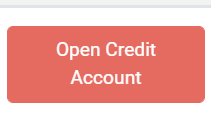
Editing the Account
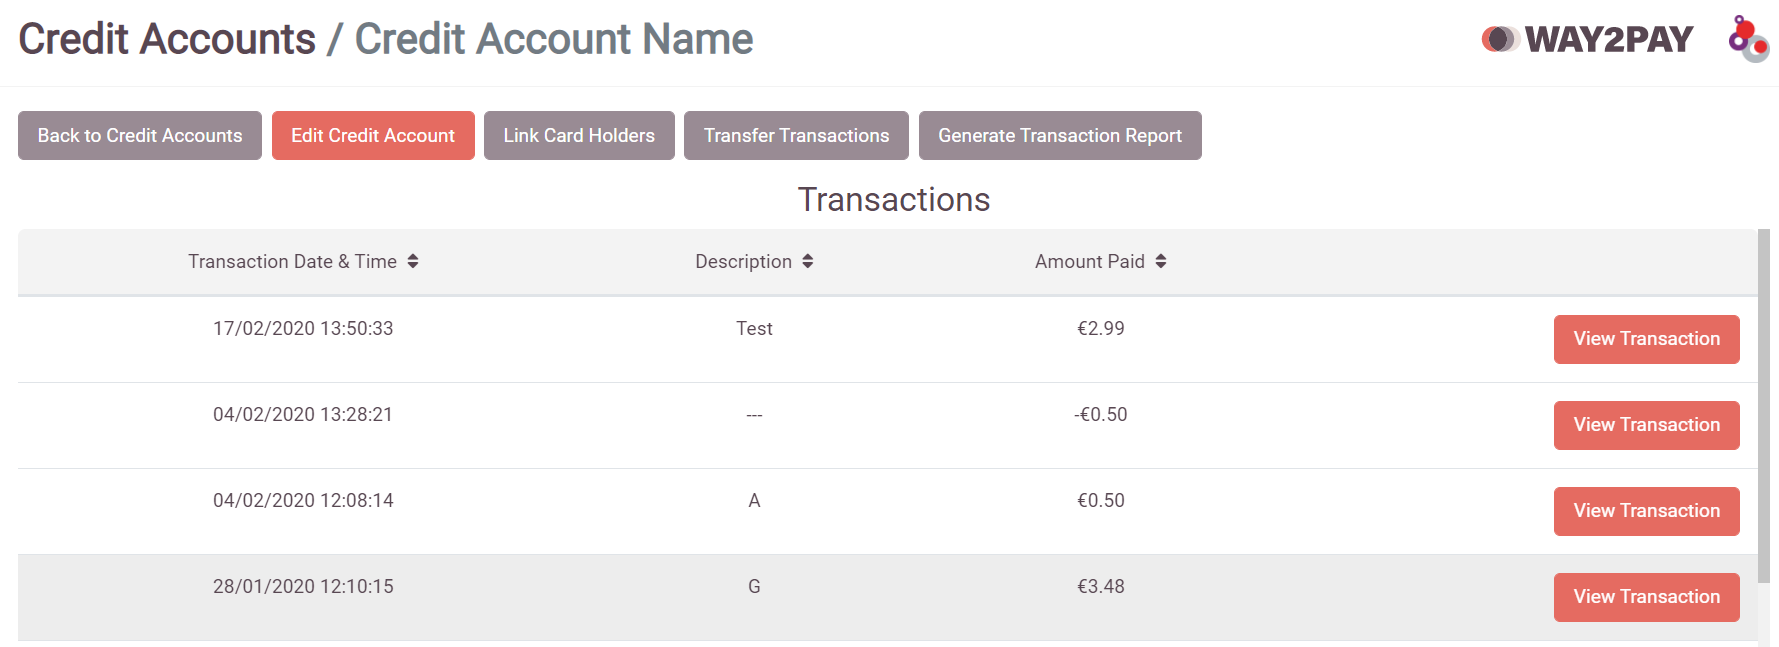
To go into an existing account, click on “Open Credit Accounts on the account.
It will bring you to this screen below.
To edit the account click on “Edit Credit Account” at the top, and it will show the screen below.
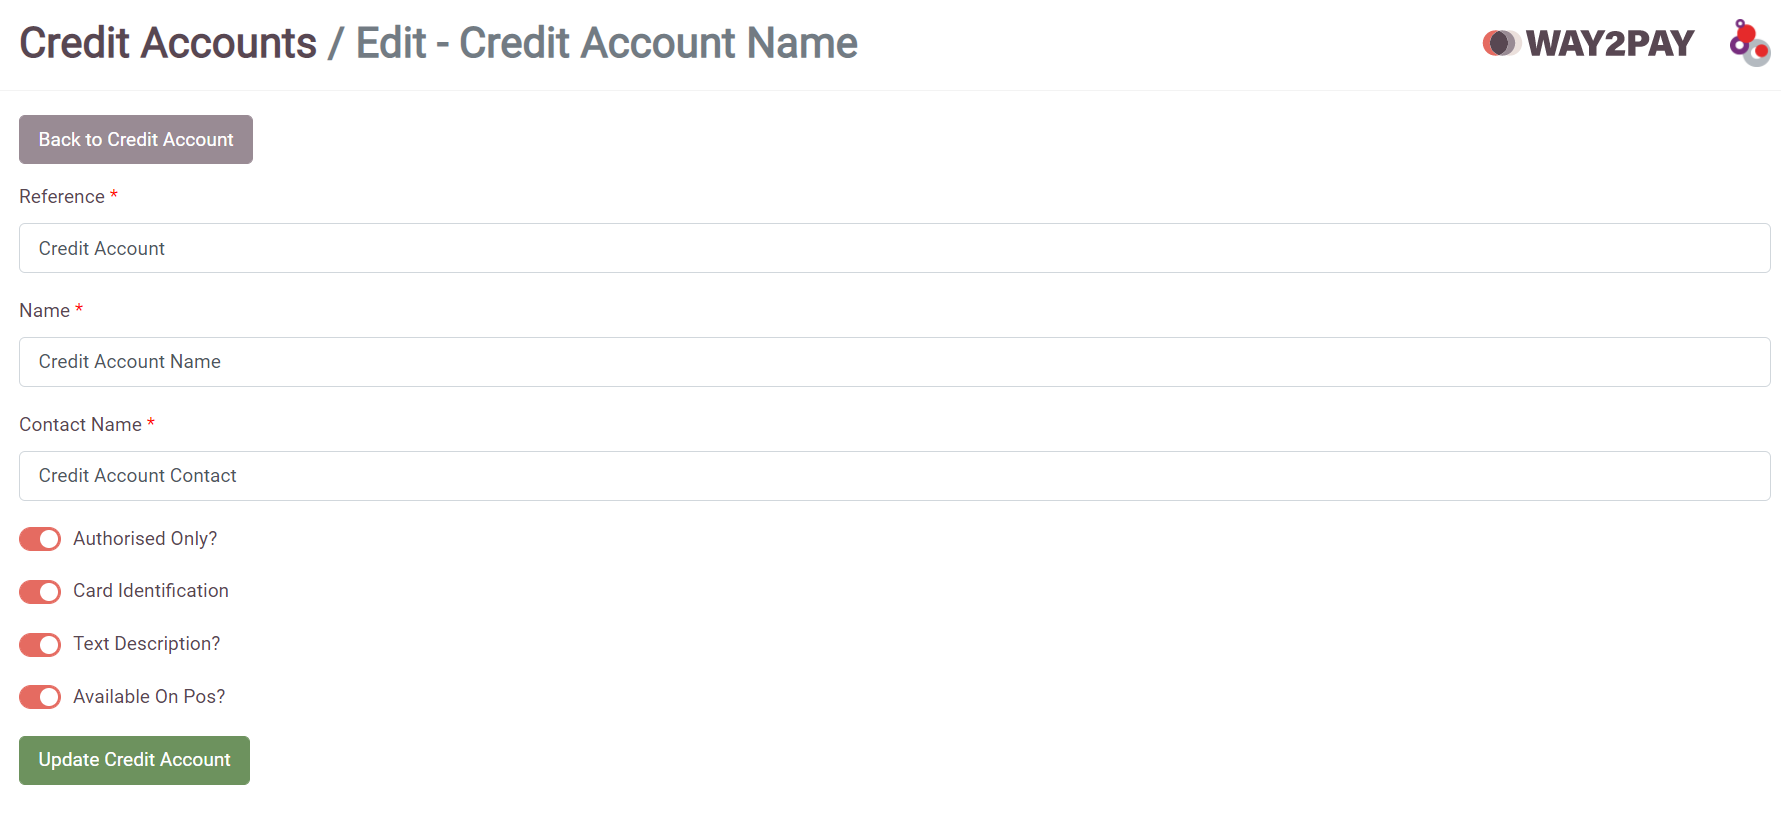
From here you can make your changes and select “Update Credit Account”.
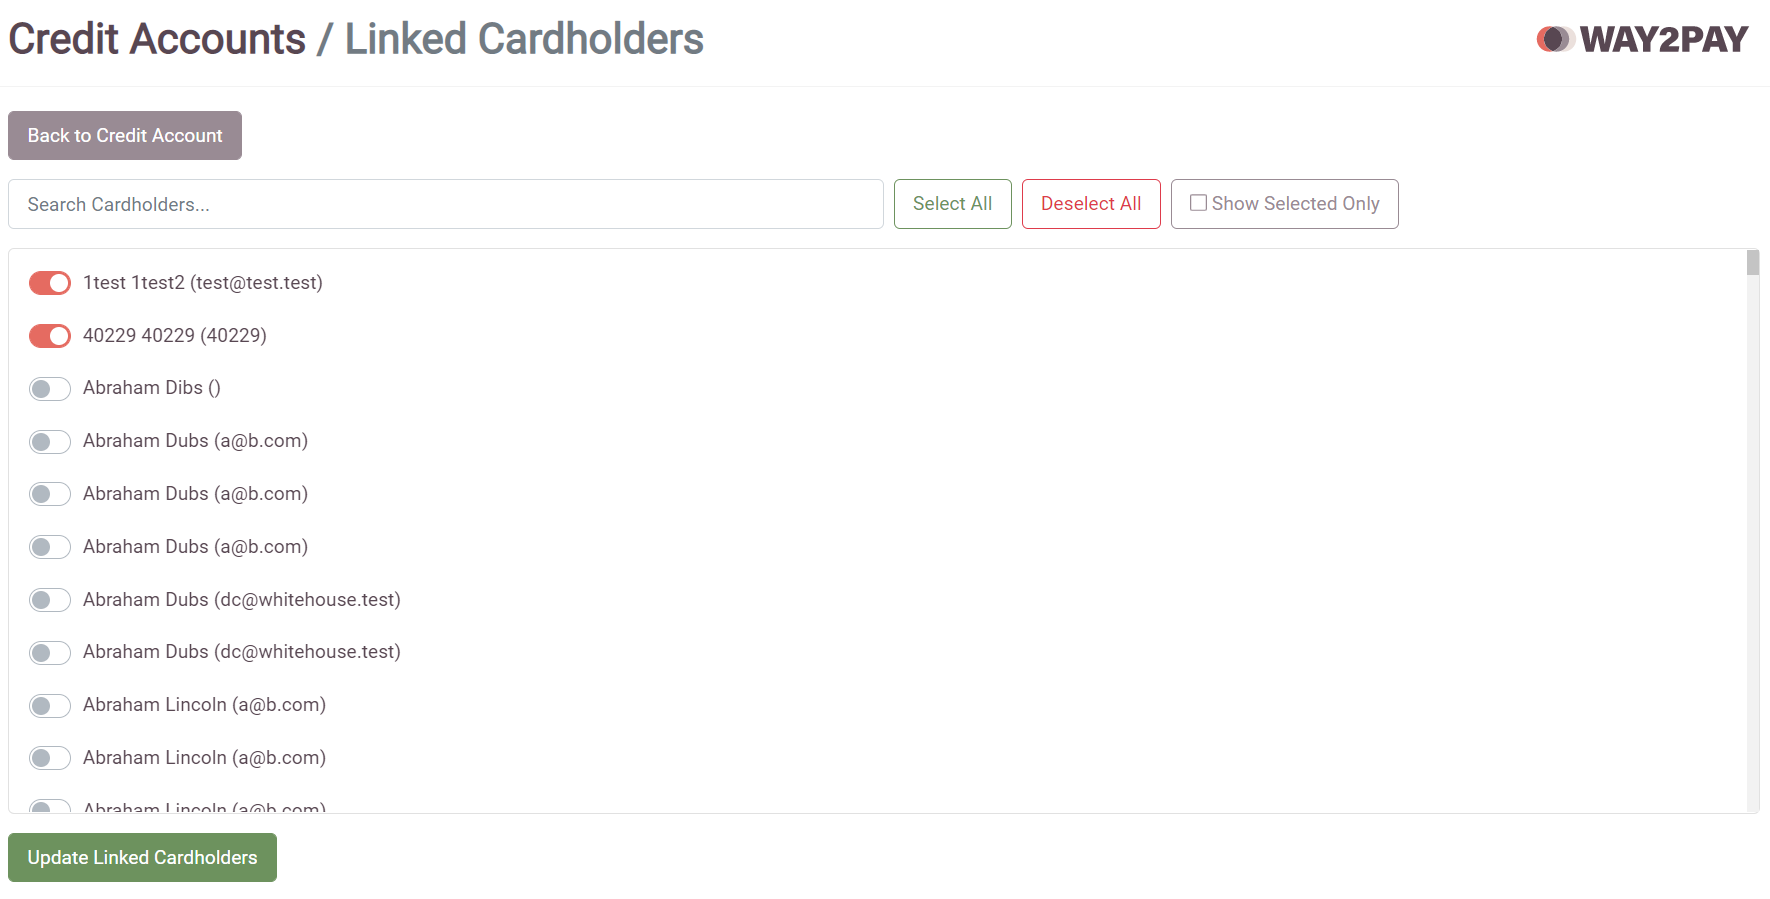
Link Card Holders
Select the “Link Card Holders” tab.
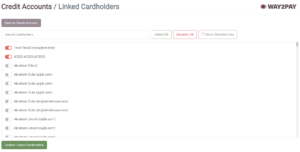
From here you can select a cardholder from the list and select “update Linked Cardholders”. If you wanted to select all cardholders, you can click “select all”.
You can also click “show selected only” to view only the cardholders that are already linked to the credit account.
Transfer Transactions
Select “Transfer Transactions” at the top of the screen.
Use the drop-down menu on the left to select the Target Credit Account.
On the right you can select the transactions you like to transfer. If it is all of them, click “Select All visible”.
![]()
Transaction Report
Select “Generate Transaction Report at the top of the page”.
From here you will need to select the Date Range, Start and End Date, Report Format, Delivery Option and enter the Email Address you would like the report sending to.
By selecting “Use Address List”, you can choose from the address list when to send the report to.
Click “Submit”.
![]()